
How to Convert Nested JSON to CSV Correctly
Convert nested JSON to a useful CSV without coding. See how nested details and lists affect the table, then choose the result that fits your work.
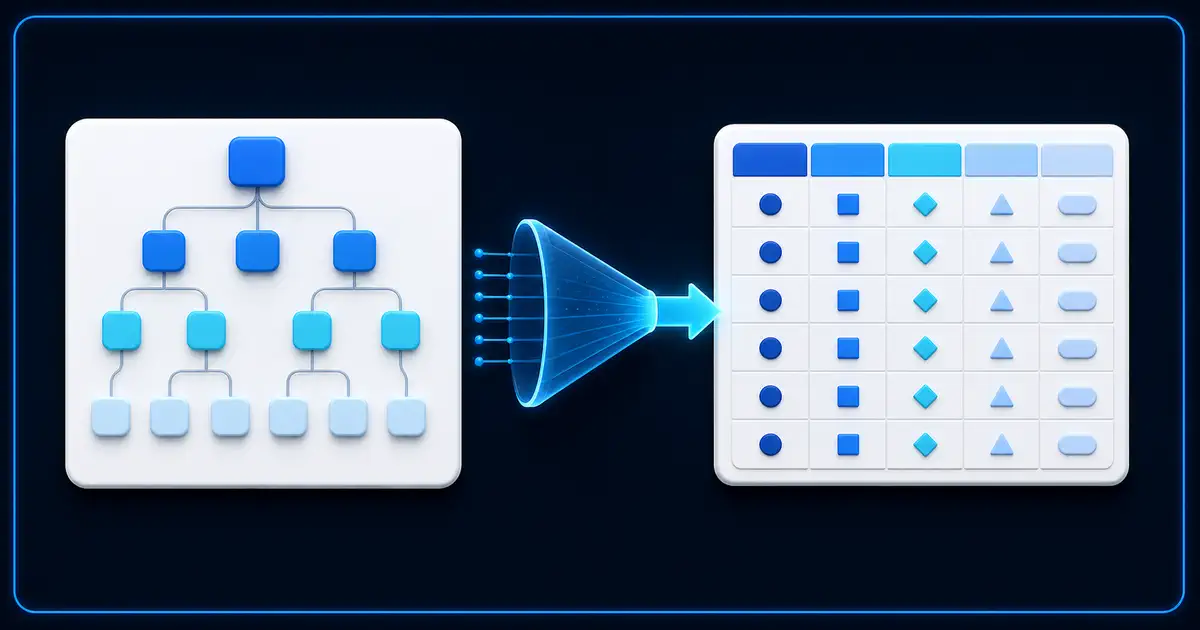
Convert nested JSON to CSV by turning nested object fields into columns and deciding what each list should become. Keep a list together in one cell when it belongs to one record, or create extra rows when each list item needs to stand on its own.
Nablyx accepts one JSON file or pasted JSON and produces a downloadable CSV. Conversion runs locally in your browser with no upload, up to 150 MB for a file. The registry-backed evidence follows the first-party audit method documented in docs/tool-audit/batch-a.md; the current tool entry records repeated cap measurements and bounded rejection for pathological header growth.
Check the preview and row count before downloading. Very irregular JSON, where nearly every record introduces new fields, can be refused before the file-size cap because the converter also limits how many distinct output columns it can safely build.
When this guide helps
This guide is useful when a normal JSON export produces a confusing CSV preview, especially when the file contains customer details, addresses, line items, tags, or other lists.
The main choice is simple: some nested details can become columns, while lists can either stay together in one cell or create extra rows.
What the converter does with nested data
Details inside another section can become their own columns. For example, a city stored inside customer details can appear as a column such as customer.city.
Lists need a choice. If a list is only something you want to keep for reference, leaving it together in one cell is usually easiest. If each item needs its own row for filtering, counting, or importing, choose the option that creates extra rows.
Neither choice is always better. The right one depends on what you plan to do with the CSV.
How to convert nested JSON to CSV
- 01
Add the JSON file
Choose your .json file or paste the JSON text into the tool.
- 02
Look at the first preview
Find the nested details and lists that matter for your work.
- 03
Keep useful columns
Leave in the customer, order, product, or other fields you actually need.
- 04
Choose what to do with lists
Keep list values together for a compact CSV, or create extra rows when each item needs to stand on its own.
- 05
Check the row count
If you created extra rows from lists, make sure the larger row count makes sense for the source data.
- 06
Download and check the CSV
Open the result and check a few records before you import or share it.
- How do I protect IDs with leading zeros? Use the option for preserving numeric-looking text before downloading the CSV. This helps values such as 00123 stay recognizable as text.
A simple example
This JSON has a customer city and a short list of items:
{
  "order": "10417",
  "customer": { "city": "Porto" },
  "items": ["Mug", "T-shirt"]
}
The city can become its own column, such as customer.city. The two items can stay together in one cell, or they can become extra rows if you need to work with each item separately.
That is the main decision to make with nested JSON.
Privacy
The conversion happens on your device in the browser. Your JSON file is not uploaded to a server for processing.
This is useful when the export contains customer, order, finance, or other private information.
Practical limits
The current file-size cap is 150 MB from the shipped registry configuration.
Large nested files can take longer and need more memory. Creating extra rows from large lists can also make the CSV much bigger than the original table you expected.
Always check the preview and row count before downloading. If a large file struggles on your device, work with a smaller export or split the source data into smaller files.
Result
The finished CSV should be easy to read and should match the way you plan to use the data. Nested details become useful columns, while lists stay together or become extra rows based on the choice you made.
Convert your JSON to CSVSee the transformation
Nested JSON becomes a readable flat table.
Nested JSON is turned into clear columns so the data is easy to read and reuse.
{
  "id": 1042,
  "name": "Alex",
  "address": { "city": "Berlin" }
}| id | name | address.city |
|---|---|---|
| 1042 | Alex | Berlin |
Need to do this now?
Convert your JSON to CSVRelated tools
Open the tool this guide is about, or explore a related one.
- Compare JSON files online freeCompare two JSON documents structurally and review added, removed, changed, and type-changed values by path. Object key order never counts as a change.
- Clean and fix CSV files — no uploadRepair common CSV problems including wrong delimiters, uneven rows, empty lines, whitespace, BOM markers, and duplicate headers.